1) Honte Uchi — normal strike
2) Gyakute Uchi — reverse strike
3) Hiki Otoshi — downward strike
4) Kaeshi Zuki — low weapon thrust
5) Gyakute Zuki — high weapon thrust
6) Maki Otoshi — envelope, drop down
7) Kuri Tsuke — guide and stick to weapon
8) Kuri Hanashi — guide and let go
9) Tai Atari — crush the body
10) Tsuki Hazushi Uchi — deflect a thrust, strike
11) Do Bari Uchi — sweeping strike
12) Tai Hazushi Uchi — evade and strike
Solo Kihon
-
-
1. Honte Uchi
-
Watch Video
-
-

-
2. Gyakute Uchi
-
Watch Video
-
-

-
3. Hiki Otoshi Uchi
-
Watch Video
-
-
-
4. Kaeshi Tsuki
-
Watch Video
-
-

-
5. Gyakute Tsuki
-
Watch Video
-
-
-
6. Maki Otoshi
-
Watch Video
-
-
-
7. Kuri Tsuke
-
Watch Video
-
-
-
8. Kuri Hanashi
-
Watch Video
-
-
-
9. Tai Atari
-
Watch Video
-
-
-
10. Tsuki Hazushi Uchi
-
Watch Video
-
-
-
11. Do Barai Uchi
-
Watch Video
-
-

-
12. Tai Hazushi Uchi
-
Watch Video
-


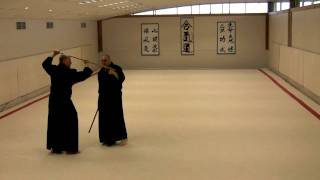
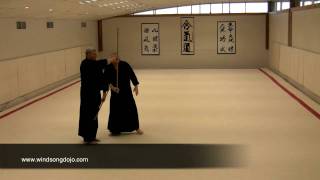
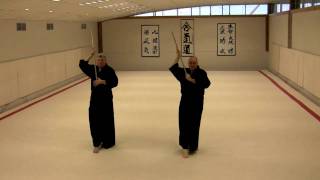
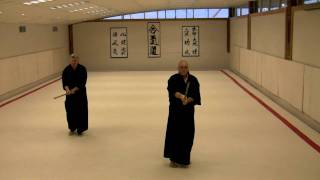
Partner Kihon
-

-
1. Honte Uchi
-
Watch Video
-
-

-
2. Gyakute Uchi
-
Watch Video
-
-

-
3. Hiki Otoshi
-
Watch Video
-
-
-
4. Kaeshi Tsuke
-
Watch Video
-
-

-
5. Gyakute Tsuke
-
Watch Video
-
-

-
6. Maki Otoshi
-
Watch Video
-
-

-
7. Kuri Tsuke
-
Watch Video
-
-

-
8. Kuri Hanashi
-
Watch Video
-
-

-
9. Tai Atari
-
Watch Video
-
-

-
10. Tsuki Hazushi Uchi
-
Watch Video
-
-

-
11. Do Barai Uchi
-
Watch Video
-
-

-
12. Tai Huzushi
-
Watch Video
-


